Why is this recipe called “Death by Chocolate”? We have 6 absolutely decadent chocolate recipes that will blow your mind!
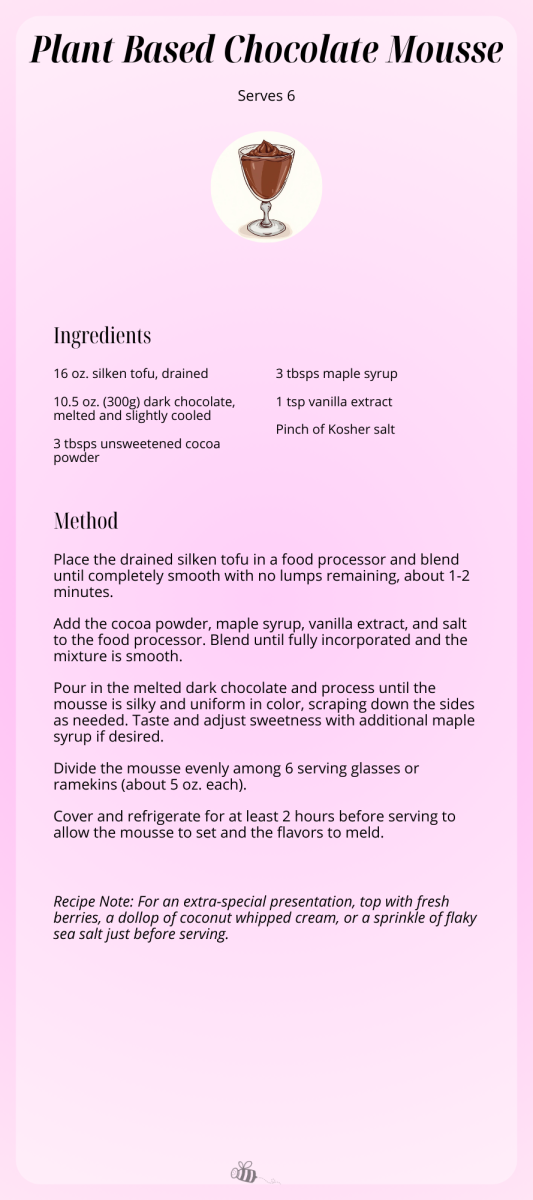
Plant-Based Chocolate Mousse
This plant-based chocolate mousse is proof that you don’t need cream or eggs to create something utterly luxurious. Rich, silky, and intensely chocolatey, it comes together in minutes with just a handful of simple ingredients. Best of all, it packs in some sneaky fiber and plant-based protein, making it a healthier alternative to traditional mousse without sacrificing any of the decadence. Whether you’re serving it at a dinner party or treating yourself to a weeknight dessert, this mousse delivers sophisticated flavor with effortless ease—and no one will guess it’s made with tofu.
Ingredients
- 16 oz. silken tofu, drained
- 10.5 oz. (300g) dark chocolate, melted and slightly cooled
- 3 tablespoons unsweetened cocoa powder
- 3 tablespoons maple syrup
- 1 teaspoon vanilla extract
- Pinch of Kosher salt
Method
Place the drained silken tofu in a food processor and blend until completely smooth with no lumps remaining, about 1-2 minutes.
Add the cocoa powder, maple syrup, vanilla extract, and salt to the food processor. Blend until fully incorporated and the mixture is smooth.
Pour in the melted dark chocolate and process until the mousse is silky and uniform in color, scraping down the sides as needed. Taste and adjust sweetness with additional maple syrup if desired.
Divide the mousse evenly among 6 serving glasses or ramekins (about 5 oz. each).
Cover and refrigerate for at least 2 hours before serving to allow the mousse to set and the flavors to meld.
Recipe Note: For an extra-special presentation, top with fresh berries, a dollop of coconut whipped cream, or a sprinkle of flaky sea salt just before serving.
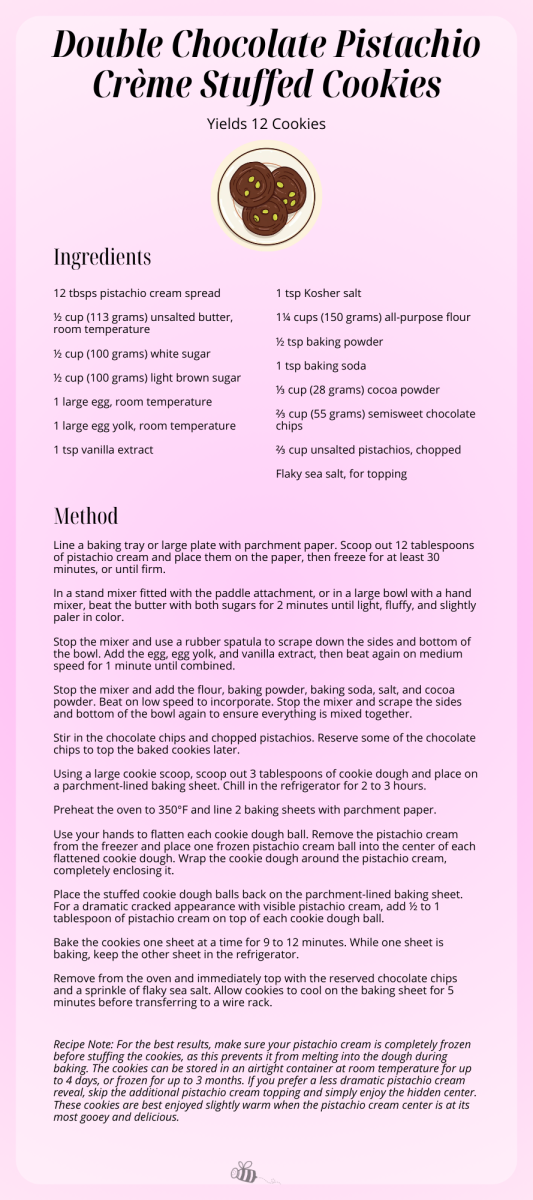
Double Chocolate Pistachio Crème Stuffed Cookies
These double chocolate pistachio stuffed cookies are the ultimate indulgence for chocolate and pistachio lovers. Rich, fudgy chocolate cookie dough conceals a molten pistachio cream center that oozes out with every bite. They’re surprisingly easy to make despite their impressive appearance, and the combination of dark cocoa, crunchy pistachios, and creamy pistachio filling creates an irresistible flavor and texture contrast. Perfect for special occasions or when you want to treat yourself to something truly decadent.
Ingredients
- 12 tablespoons pistachio cream spread
- ½ cup (113 grams) unsalted butter, room temperature
- ½ cup (100 grams) white sugar
- ½ cup (100 grams) light brown sugar
- 1 large egg, room temperature
- 1 large egg yolk, room temperature
- 1 teaspoon vanilla extract
- 1 teaspoon Kosher salt
- 1¼ cups (150 grams) all-purpose flour
- ½ teaspoon baking powder
- 1 teaspoon baking soda
- ⅓ cup (28 grams) cocoa powder
- ⅔ cup (55 grams) semisweet chocolate chips
- ⅔ cup unsalted pistachios, chopped
- Flaky sea salt, for topping
Method
Line a baking tray or large plate with parchment paper. Scoop out 12 tablespoons of pistachio cream and place them on the paper, then freeze for at least 30 minutes, or until firm.
In a stand mixer fitted with the paddle attachment, or in a large bowl with a hand mixer, beat the butter with both sugars for 2 minutes until light, fluffy, and slightly paler in color.
Stop the mixer and use a rubber spatula to scrape down the sides and bottom of the bowl. Add the egg, egg yolk, and vanilla extract, then beat again on medium speed for 1 minute until combined.
Stop the mixer and add the flour, baking powder, baking soda, salt, and cocoa powder. Beat on low speed to incorporate. Stop the mixer and scrape the sides and bottom of the bowl again to ensure everything is mixed together.
Stir in the chocolate chips and chopped pistachios. Reserve some of the chocolate chips to top the baked cookies later.
Using a large cookie scoop, scoop out 3 tablespoons of cookie dough and place on a parchment-lined baking sheet. Chill in the refrigerator for 2 to 3 hours.
Preheat the oven to 350°F and line 2 baking sheets with parchment paper.
Use your hands to flatten each cookie dough ball. Remove the pistachio cream from the freezer and place one frozen pistachio cream ball into the center of each flattened cookie dough. Wrap the cookie dough around the pistachio cream, completely enclosing it.
Place the stuffed cookie dough balls back on the parchment-lined baking sheet. For a dramatic cracked appearance with visible pistachio cream, add ½ to 1 tablespoon of pistachio cream on top of each cookie dough ball.
Bake the cookies one sheet at a time for 9 to 12 minutes. While one sheet is baking, keep the other sheet in the refrigerator.
Remove from the oven and immediately top with the reserved chocolate chips and a sprinkle of flaky sea salt. Allow cookies to cool on the baking sheet for 5 minutes before transferring to a wire rack.
Recipe Notes
For the best results, make sure your pistachio cream is completely frozen before stuffing the cookies, as this prevents it from melting into the dough during baking. The cookies can be stored in an airtight container at room temperature for up to 4 days, or frozen for up to 3 months. If you prefer a less dramatic pistachio cream reveal, skip the additional pistachio cream topping and simply enjoy the hidden center. These cookies are best enjoyed slightly warm when the pistachio cream center is at its most gooey and delicious.
Espresso Chocolate & Raspberry Thumbprint Cookies
These espresso chocolate and raspberry cookies are an elegant treat that perfectly balances bold coffee flavor with rich dark chocolate and bright, tart raspberry. The tender chocolate cookie base is infused with espresso, filled with quality raspberry jam, and topped with a silky espresso ganache and freeze-dried raspberries. They’re surprisingly simple to make but look absolutely stunning on any dessert table. The combination of flavors is sophisticated yet approachable, making these cookies ideal for entertaining or gifting to coffee and chocolate lovers alike.

Ingredients
- 2 sticks (1 cup) unsalted butter, softened
- 1 cup granulated sugar
- 1 egg
- 2 teaspoons vanilla extract
- 1 tablespoon instant espresso powder
- 2 cups all-purpose flour
- ½ cup unsweetened cocoa powder
- 1½ teaspoons kosher salt
- 1 to 2 tablespoons heavy cream, optional
- ¾ cup good quality raspberry jam
- ¼ cup crushed freeze-dried raspberries
Chocolate Ganache Ingredients
- 8 ounces semi-sweet or dark chocolate, chopped
- ⅓ cup heavy cream
- 1 teaspoon vanilla extract
- 1 to 2 teaspoons instant espresso powder
Method
Preheat the oven to 350°F. Line a baking sheet with parchment paper.
In a large bowl using an electric mixer, beat together the butter and sugar until light and fluffy. Add the egg, vanilla, and espresso powder and beat until incorporated. Add the flour, cocoa powder, and salt, beating until just combined. If the dough feels dry, add 1 tablespoon of heavy cream.
Roll the dough into 2 teaspoon-sized balls and place 1 inch apart on the prepared baking sheet. Using the back of an oiled ½ teaspoon measuring spoon, press gently in the center of each cookie to create an indentation.
Transfer to the oven and bake, rotating the sheets halfway through, until the cookies are just set, about 7 to 8 minutes. If the indentations lose their definition during baking, gently press the centers in again while the cookies are still warm. Cool slightly on the baking sheet, then transfer cookies to wire racks and let cool completely.
Once cooled, dollop 1 teaspoon of raspberry jam into the indentation of each cookie and place in the freezer until the jam is firm to the touch, about 10 to 15 minutes.
Meanwhile, in a microwave-safe bowl, combine the chopped chocolate and cream. Microwave in 30-second intervals, stirring between each interval, until melted and smooth. Stir in the vanilla and espresso powder until dissolved.
Spoon the ganache into the center of each cookie over the jam. Decorate the tops of the cookies with a sprinkle of crushed freeze-dried raspberries over each cookie. Allow the ganache to set before serving.
Recipe Notes
These cookies can be stored in an airtight container for up to 1 week. For the best results, use good quality raspberry jam as it makes a significant difference in flavor. The freeze-dried raspberries add a beautiful pop of color and concentrated raspberry flavor, but they can be omitted if unavailable. If you prefer a more intense coffee flavor, use 2 teaspoons of espresso powder in the ganache; for a milder coffee note, use just 1 teaspoon. These cookies are best enjoyed at room temperature when the ganache has fully set but remains soft and creamy.
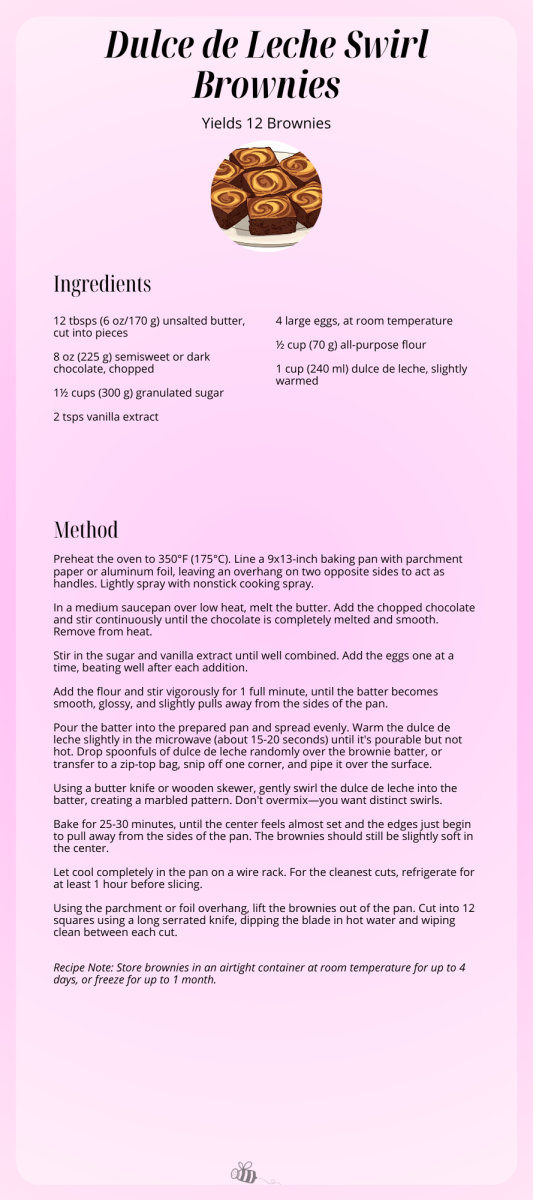
Dulce de Leche Swirl Brownies
These indulgent brownies are a chocolate lover’s dream with ribbons of creamy dulce de leche swirled throughout. They’re surprisingly simple to make in just one pot, and the combination of rich, fudgy chocolate with sweet caramel creates an irresistible treat that’s perfect for entertaining or whenever you need an impressive dessert without the fuss.
Ingredients
- 12 tablespoons (6 oz/170 g) unsalted butter, cut into pieces
- 8 oz (225 g) semisweet or dark chocolate, chopped
- 1½ cups (300 g) granulated sugar
- 2 teaspoons vanilla extract
- 4 large eggs, at room temperature
- ½ cup (70 g) all-purpose flour
- 1 cup (240 ml) dulce de leche, slightly warmed
Method
Preheat the oven to 350°F (175°C). Line a 9×13-inch baking pan with parchment paper or aluminum foil, leaving an overhang on two opposite sides to act as handles. Lightly spray with nonstick cooking spray.
In a medium saucepan over low heat, melt the butter. Add the chopped chocolate and stir continuously until the chocolate is completely melted and smooth. Remove from heat.
Stir in the sugar and vanilla extract until well combined. Add the eggs one at a time, beating well after each addition.
Add the flour and stir vigorously for 1 full minute, until the batter becomes smooth, glossy, and slightly pulls away from the sides of the pan.
Pour the batter into the prepared pan and spread evenly. Warm the dulce de leche slightly in the microwave (about 15-20 seconds) until it’s pourable but not hot. Drop spoonfuls of dulce de leche randomly over the brownie batter, or transfer to a zip-top bag, snip off one corner, and pipe it over the surface.
Using a butter knife or wooden skewer, gently swirl the dulce de leche into the batter, creating a marbled pattern. Don’t overmix—you want distinct swirls.
Bake for 25-30 minutes, until the center feels almost set and the edges just begin to pull away from the sides of the pan. The brownies should still be slightly soft in the center.
Let cool completely in the pan on a wire rack. For the cleanest cuts, refrigerate for at least 1 hour before slicing.
Using the parchment or foil overhang, lift the brownies out of the pan. Cut into 12 squares using a long serrated knife, dipping the blade in hot water and wiping clean between each cut.
Recipe Notes
Store brownies in an airtight container at room temperature for up to 4 days, or freeze for up to 1 month.
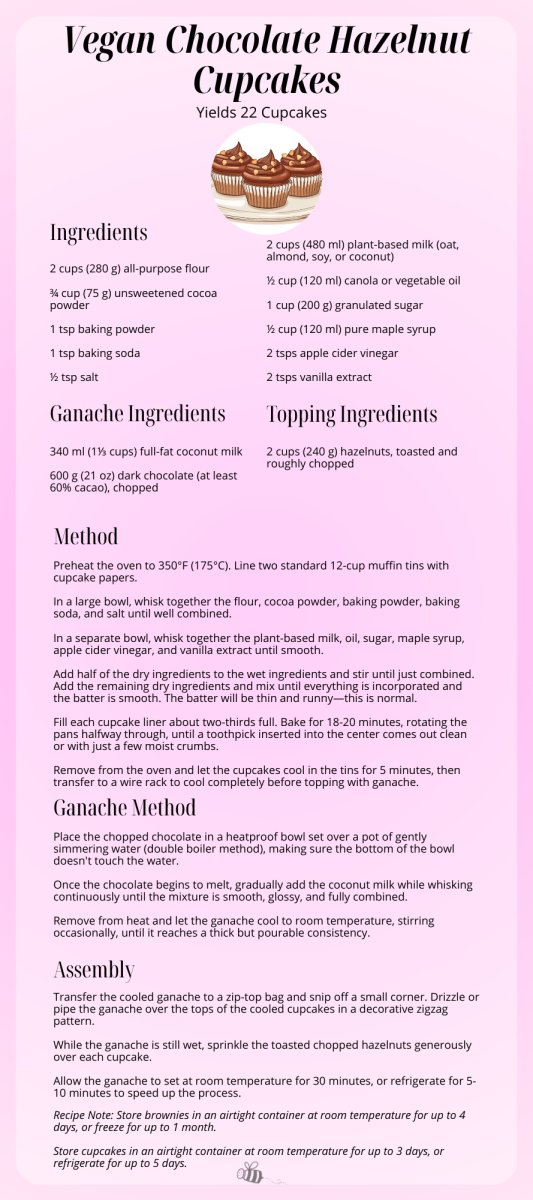
Vegan Chocolate Hazelnut Cupcakes
These decadent vegan chocolate hazelnut cupcakes are proof that plant-based baking can be just as indulgent as traditional recipes. Topped with a luscious dark chocolate ganache and crunchy toasted hazelnuts, they’re rich, moist, and incredibly easy to make. Whether you’re vegan or simply looking for a crowd-pleasing dessert that everyone can enjoy, these cupcakes deliver on both flavor and texture without any eggs or dairy.
Cupcake Ingredients
- 2 cups (280 g) all-purpose flour
- ¾ cup (75 g) unsweetened cocoa powder
- 1 teaspoon baking powder
- 1 teaspoon baking soda
- ½ teaspoon salt
- 2 cups (480 ml) plant-based milk (oat, almond, soy, or coconut)
- ½ cup (120 ml) canola or vegetable oil
- 1 cup (200 g) granulated sugar
- ½ cup (120 ml) pure maple syrup
- 2 teaspoons apple cider vinegar
- 2 teaspoons vanilla extract
Chocolate Ganache Ingredients
- 340 ml (1⅓ cups) full-fat coconut milk
- 600 g (21 oz) dark chocolate (at least 60% cacao), chopped
Toppings Ingredients
- 2 cups (240 g) hazelnuts, toasted and roughly chopped
Method
Preheat the oven to 350°F (175°C). Line two standard 12-cup muffin tins with cupcake papers.
In a large bowl, whisk together the flour, cocoa powder, baking powder, baking soda, and salt until well combined.
In a separate bowl, whisk together the plant-based milk, oil, sugar, maple syrup, apple cider vinegar, and vanilla extract until smooth.
Add half of the dry ingredients to the wet ingredients and stir until just combined. Add the remaining dry ingredients and mix until everything is incorporated and the batter is smooth. The batter will be thin and runny—this is normal.
Fill each cupcake liner about two-thirds full. Bake for 18-20 minutes, rotating the pans halfway through, until a toothpick inserted into the center comes out clean or with just a few moist crumbs.
Remove from the oven and let the cupcakes cool in the tins for 5 minutes, then transfer to a wire rack to cool completely before topping with ganache.
Method for Chocolate Ganache
Place the chopped chocolate in a heatproof bowl set over a pot of gently simmering water (double boiler method), making sure the bottom of the bowl doesn’t touch the water.
Once the chocolate begins to melt, gradually add the coconut milk while whisking continuously until the mixture is smooth, glossy, and fully combined.
Remove from heat and let the ganache cool to room temperature, stirring occasionally, until it reaches a thick but pourable consistency.
Assembly
Transfer the cooled ganache to a zip-top bag and snip off a small corner. Drizzle or pipe the ganache over the tops of the cooled cupcakes in a decorative zigzag pattern.
While the ganache is still wet, sprinkle the toasted chopped hazelnuts generously over each cupcake.
Allow the ganache to set at room temperature for 30 minutes, or refrigerate for 5-10 minutes to speed up the process.
Recipe Notes
You may have leftover ganache—it can be refrigerated for up to 1 week and used to make chocolate truffles or as a topping for other desserts.
Store cupcakes in an airtight container at room temperature for up to 3 days, or refrigerate for up to 5 days.
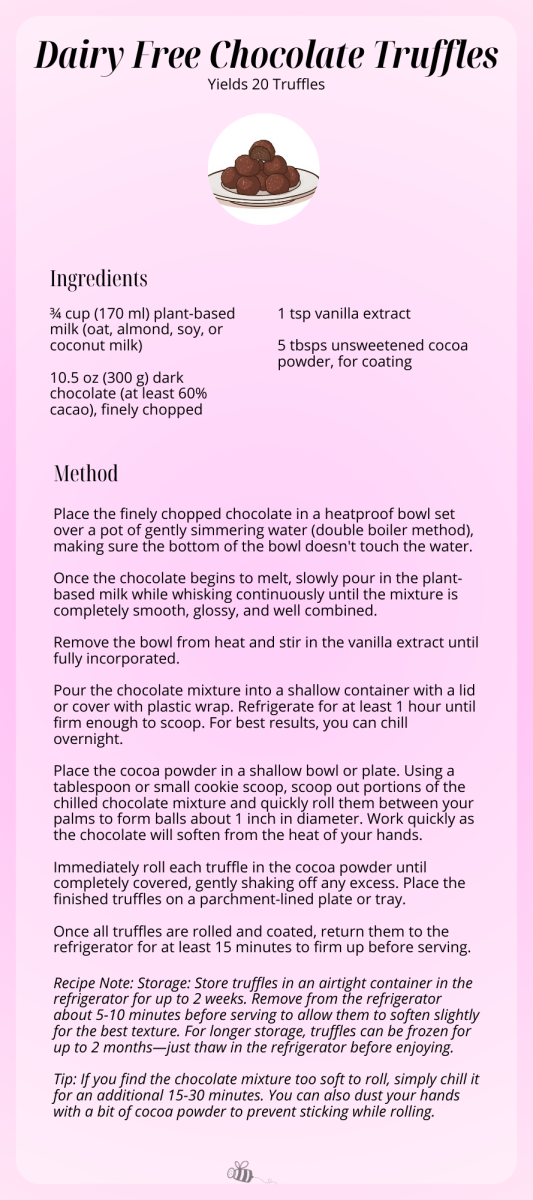
Dairy-Free (and Vegan) Chocolate Truffles
These elegant vegan chocolate truffles are the ultimate no-fuss indulgence. With just three simple ingredients and minimal hands-on time, you can create sophisticated, melt-in-your-mouth treats that rival any chocolatier. The beauty of this recipe lies in its simplicity—rich dark chocolate combined with creamy plant-based milk creates a silky ganache that’s rolled in cocoa powder for a classic finish. Perfect for gift-giving, entertaining, or enjoying as a luxurious after-dinner treat, these truffles prove that impressive desserts don’t have to be complicated.
Ingredients
- ¾ cup (170 ml) plant-based milk (oat, almond, soy, or coconut milk)
- 10.5 oz (300 g) dark chocolate (at least 60% cacao), finely chopped
- 1 teaspoon vanilla extract
- 5 tablespoons unsweetened cocoa powder, for coating
Method
Place the finely chopped chocolate in a heatproof bowl set over a pot of gently simmering water (double boiler method), making sure the bottom of the bowl doesn’t touch the water.
Once the chocolate begins to melt, slowly pour in the plant-based milk while whisking continuously until the mixture is completely smooth, glossy, and well combined.
Remove the bowl from heat and stir in the vanilla extract until fully incorporated.
Pour the chocolate mixture into a shallow container with a lid or cover with plastic wrap. Refrigerate for at least 1 hour until firm enough to scoop. For best results, you can chill overnight.
Place the cocoa powder in a shallow bowl or plate. Using a tablespoon or small cookie scoop, scoop out portions of the chilled chocolate mixture and quickly roll them between your palms to form balls about 1 inch in diameter. Work quickly as the chocolate will soften from the heat of your hands.
Immediately roll each truffle in the cocoa powder until completely covered, gently shaking off any excess. Place the finished truffles on a parchment-lined plate or tray.
Once all truffles are rolled and coated, return them to the refrigerator for at least 15 minutes to firm up before serving.
Recipe Notes
Storage: Store truffles in an airtight container in the refrigerator for up to 2 weeks. Remove from the refrigerator about 5-10 minutes before serving to allow them to soften slightly for the best texture. For longer storage, truffles can be frozen for up to 2 months—just thaw in the refrigerator before enjoying.
Tip: If you find the chocolate mixture too soft to roll, simply chill it for an additional 15-30 minutes. You can also dust your hands with a bit of cocoa powder to prevent sticking while rolling.
Looking For More Recipes?
Check out Salt & Honey’s Youtube channel for more recipe, meal prep, and even a behind-the-scenes look of S&H!
Warm up this winter with our cozy Hot Chocolate on our recipe blog!
Meal Prep Guides
Not only do we empower your recipe bank with gems like the Hot Cocoa and Beef Bourguignon but we have also developed a monthly meal prep guide. We utilize seasonal ingredients and the entire guide is centered around dishes with similar components.
Through the use of batch cooking, we want to make cooking easy, delicious and affordable. You can create the entire meal prep guide to plan your whole week or simply pick and choose which dishes resonate with you!
Make sure to check out our Youtube to find which we meal prep guide dishes we’re cooking for the week! Our latest meal prep guide is January.
Additional Resources
Pinterest Board: Check out our mood board designed to provide even more inspiration for hors d’oeuvres. Here you can find more photos and videos covering our wide range of catering and event planning expertise. Whether you’re searching for food inspiration, food recipes, homemade decor, wedding planning ideas, and more, our mood boards will have your creativity soaring!
Instagram: Our feed provides a plethora of photo inspiration as well as DIY’s and tutorials on projects you can embark on at home. Whether it’s food recipes or even home decor, we will have what you’re searching for!Posted onAuthor
Substack: Monthly notes on slow living and seasonal flavors from Salt & Honey Catering and Events. Discover the recipes, garden tasks, and hosting tips that define our own event production. Here we will provide exclusive recipes, tips, and tricks only available on our free Substack!
Youtube Vlog: Ever wonder what the Catering and Event Production side of world looks like? Our “Beyond The Banquet” vlog series provides a peak through the curtain! We drop monthly short videos of the chaos and serenity behind the business. Come check it out now!
2 thoughts on “Death by Chocolate – 6 Mouthwatering Chocolate Recipes”
Comments are closed.